![]()

Setting up your public profile
Customizing your public profile is a great way to increase trust with your customers. It is visible on your invoices and makes it clear who the customer is sending crypto to. Let’s have a look at how you can improve your customer’s user experience!
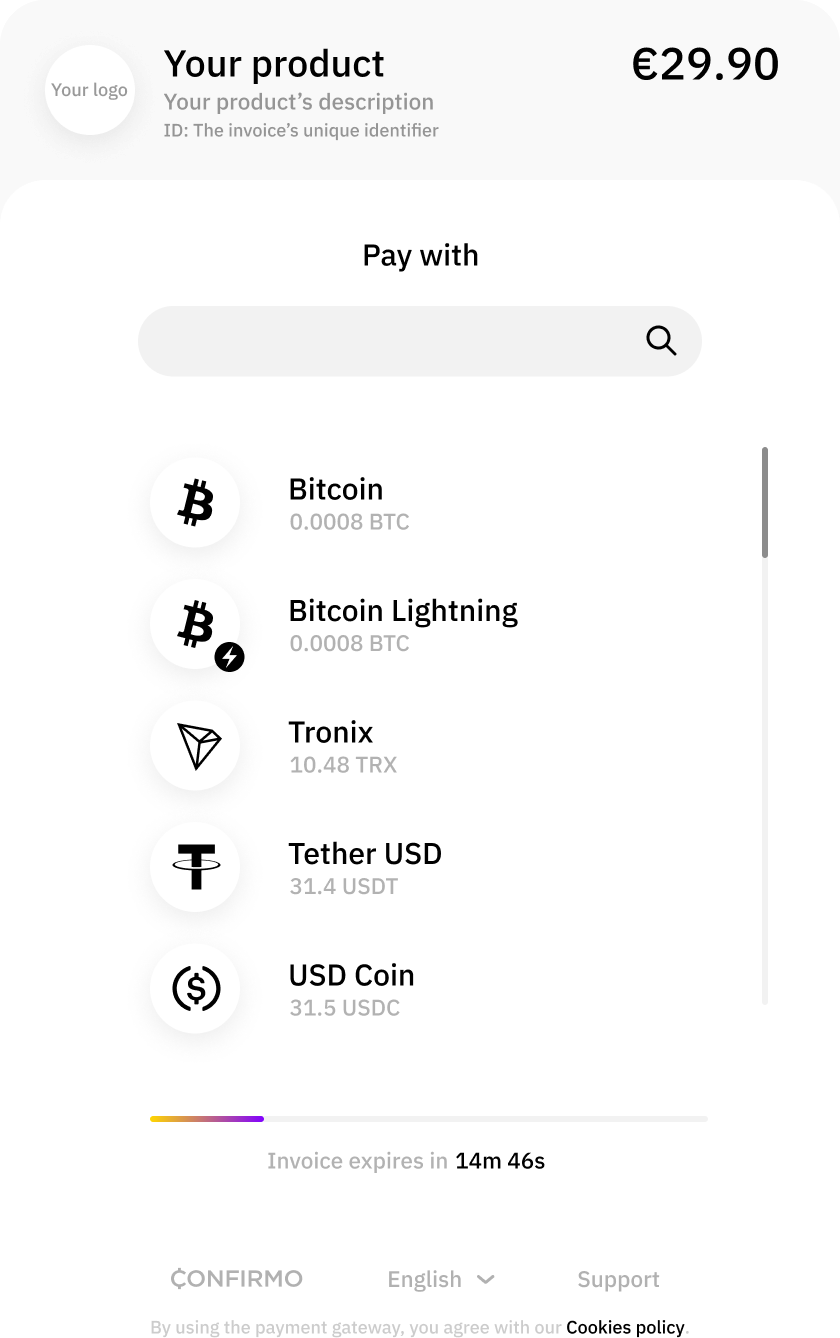
When your customer views a Confirmo crypto invoice, they are shown general information about the payment. This includes the name of the product, the amount to be paid, the list of supported cryptocurrencies, and more. Your public profile is displayed when the customer hovers over your logo, which can be customized as well. This creates an extra layer of trust and makes the payment more seamless, because the customer can quickly check who they are paying.
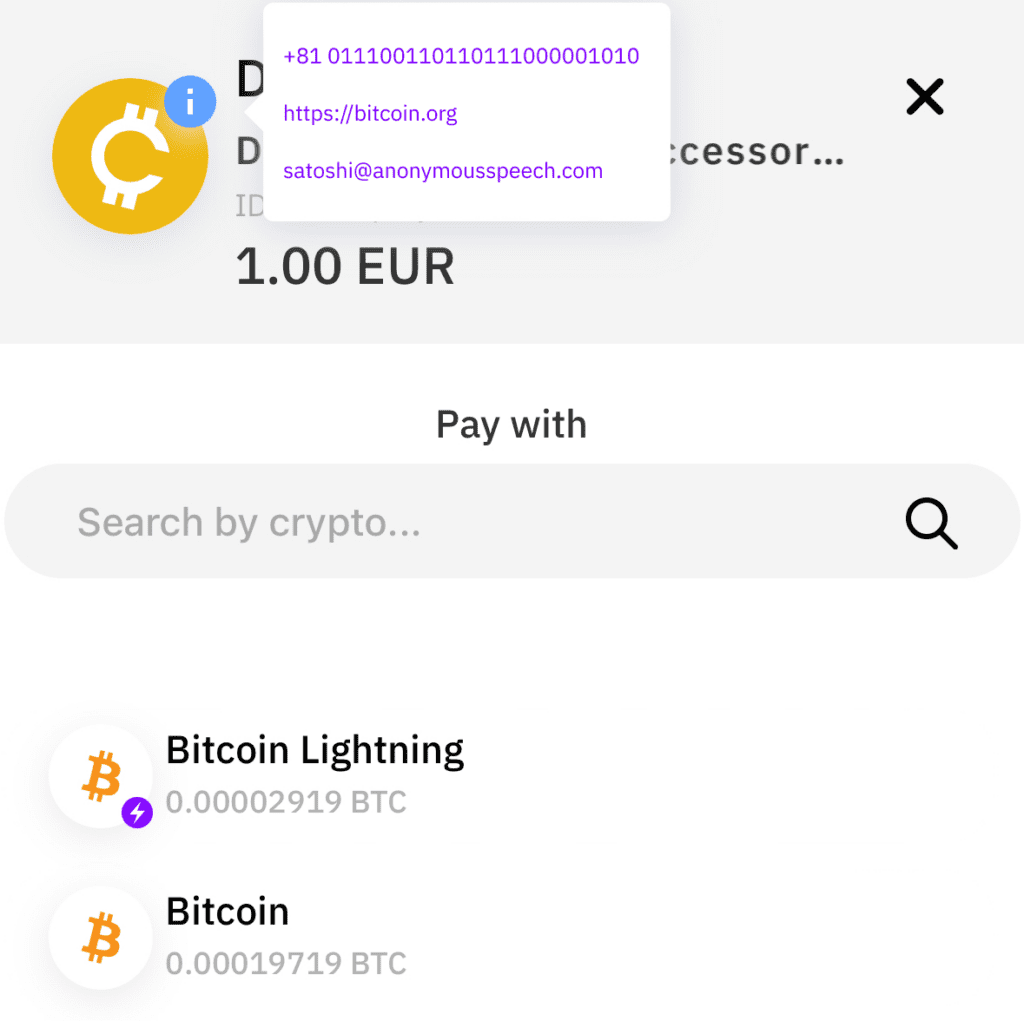
You can set it up in Settings – Public profile. You can choose to display your account information as well – check the checkboxes to make your selection. Upload your company logo as well, otherwise the invoice will show the default logo placeholder. This image will be displayed instead of placeholder in the invoice’s header. Thanks to these options, you can add quite a lot of information to the invoice for your customers – part of it is tied to your account, part can be defined by you in case you want to input a specific website, phone number, or support email instead of your main contacts.
The setup itself takes just minutes. Once you’re done, your Confirmo invoices will look much better, trustworthy, and better tailored to your branding.